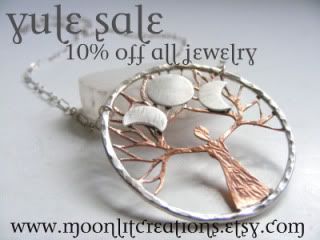
All jewelry is 10% off through December at both of my stores!
Earthen Creations and MoonLit Creations
New Jewelry...
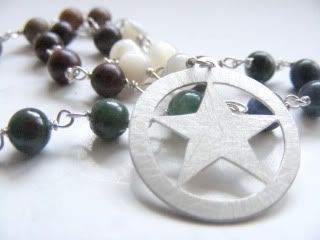
Meditation Beads
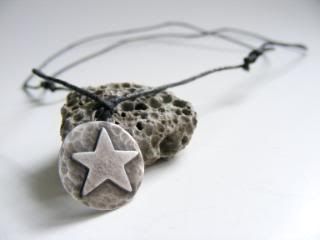
Element Meditation Beads
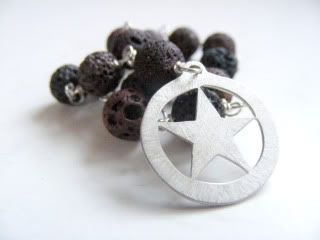
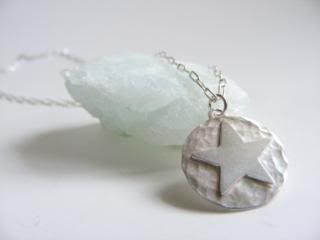
Lava Meditation Beads
If you would like some Meditation Beads made special for you with beads that speak to you, let me know!
Have a wonderful weekend!
Brightest Blessings,
Mel
Friday, December 4, 2009
Friday, November 20, 2009
New Jewelry
All jewelry is 10% off through December at both of my stores!
Earthen Creations and MoonLit Creations
New Jewelry...
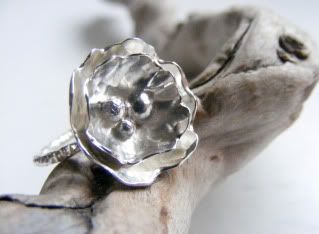
Flower Ring
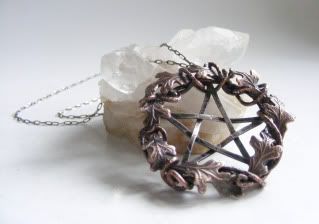
Oak Leaf Wreath Pentacle Necklace
Have a wonderful week!
♥Mel
Earthen Creations and MoonLit Creations
New Jewelry...
Flower Ring
Oak Leaf Wreath Pentacle Necklace
Have a wonderful week!
♥Mel
Saturday, November 14, 2009
Yule Sale and new jewelry listed
All jewelry is 10% off through December at both of my stores!
Earthen Creations and MoonLit Creations
New Jewelry...
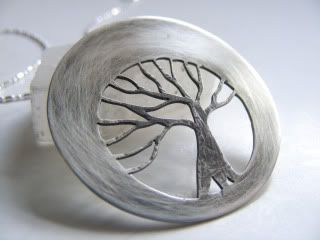
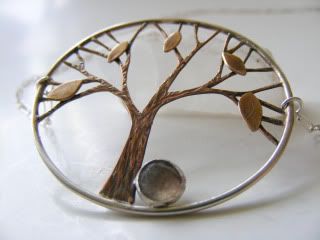
Tree Necklace
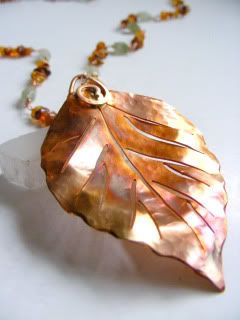
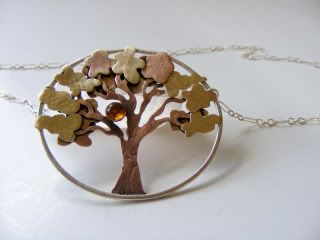
Autumn Leaf Necklace
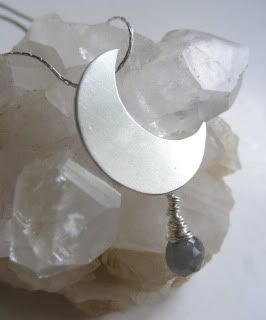
Moon Necklace with Smoky Quartz
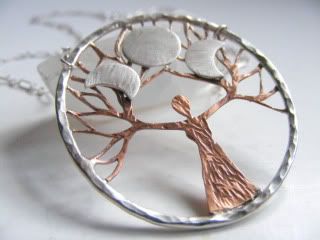
Triple Mother Goddess Tree Necklace
Have a wonderful week!
♥Mel
Earthen Creations and MoonLit Creations
New Jewelry...
Tree Necklace
Autumn Leaf Necklace
Moon Necklace with Smoky Quartz
Triple Mother Goddess Tree Necklace
Have a wonderful week!
♥Mel
Friday, October 2, 2009
New jewelry from this week!
(To see more about or to purchase any of the jewelry shown below click on the pictures)
I love the changing of the seasons, all the colors of the leaves on the trees. Just beautiful. Autumn is what inspired these trees.
(To see all of my Nature inspired jewelry go to Earthen Creations)
Fall Tree Necklace with Labradorite
Amber Sun Tree Necklace
New Pentacle Necklaces this week at MoonLit Creations!
Dark Pentacle Necklace
Pentacle Necklace
Topaz Pentacle Necklace
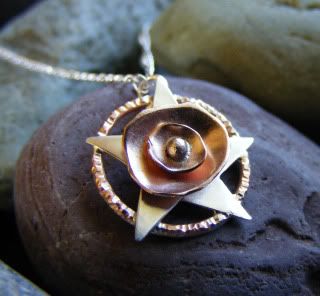
Flower Pentacle Necklace
Thank you for checking out my weekly blog. Have a lovely weekend and upcoming week.
Brightest Blessings,
Mel
Etsy Buy Handmade MoonLitCreations |
Etsy Buy Handmade EarthenCreations |
Friday, September 18, 2009
New Pentacles pieces...
New Pentacle Necklaces and Earrings! To see more about these pieces or to purchase click on the pictures or go to MoonLit Creations
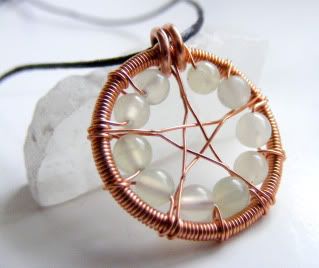
Jade with Copper Pentagram Necklace
I am bringing back some old designs and the wire-wrapped pentacle is one of them! This is a beautiful light green jade is accented perfectly with the copper wire.
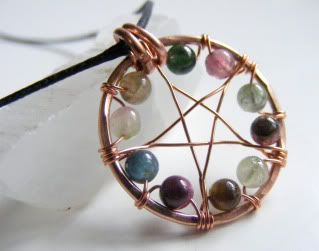
Rainbow Tourmaline Pentacle necklace
This is my new version of the wire-wrapped pentacle. I started with a copper circle that I textured and then wire-wrapped the rainbow Tourmaline around it.
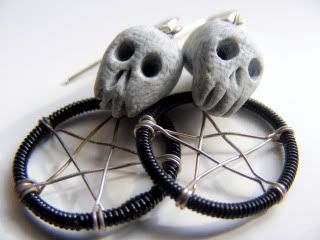
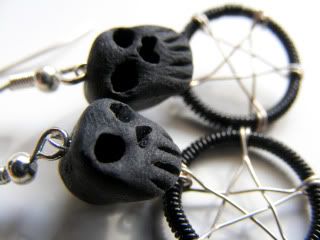
Skull Pentacle Earrings
Need something different for The Samhain or Halloween? These lovely earrings would be perfect!
Grey Pentacle Earrings
Black Pentacle Earrings
Thank you for checking out my weekly blog. Please let me know if you have any questions or ideas for new jewelry.
Brightest Blessings,
Mel
Etsy Buy Handmade MoonLitCreations |
Friday, September 11, 2009
New Jewelry and Congrats to the winner on the Wigglian Way!
Congratulations to the Winner of the Wigglian Way contest!
She won this lovely Flower Pentacle...
Which I hope she enjoys. If you would like to have your own Flower Pentacle stop by my store!
New jewelry from the week! To see more about these pieces or to purchase click on the pictures or go to www.MoonLitCreations.etsy.com
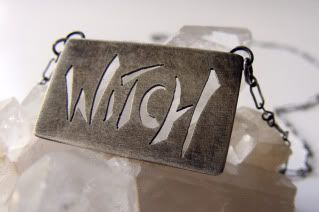
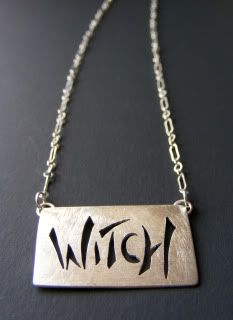
"Witch" necklace
This hand cut "Witch" necklace has a very organic texture and is available in with a darkened patina or silver matte finish.
(Patina finish)
(Silver matte finish)
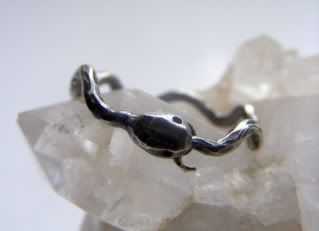
Ouroboros Ring
This sly snake slithers around your thumb or finger to catch it's tail. This ring can be made in any size or half size.
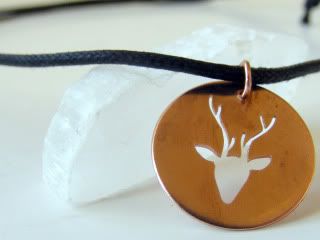
Deer Necklace
The cute little deer is hand cut out of copper.
Thank you for checking out my weekly blog. Please let me know if you have any questions or ideas for new jewelry.
Brightest Blessings,
Mel
Etsy Buy Handmade MoonLitCreations |
Thursday, September 3, 2009
SALE!
New pieces from this week...
To see more about these pieces or to get one for yourself click on the pictures or go to MoonLit Creations
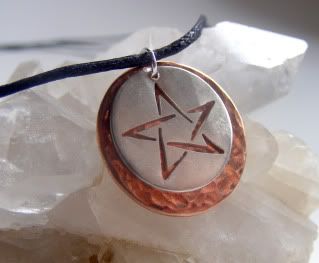
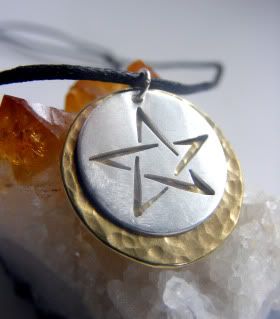
Pentacle Necklace with Copper
Pentacle Necklace with Brass
Have a wonderful weekend everyone and don't forget to check out my SALE!
Brightest Blessings,
Mel
Etsy Buy Handmade MoonLitCreations |
Friday, August 28, 2009
New jewelry from this week!
To see more information about the pieces below or to purchase click on the pictures or go to www.MoonLitCreations.etsy.com
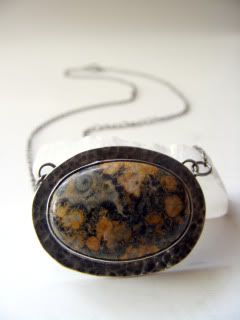
Ocean Jasper "Hidden Pentacle" necklace
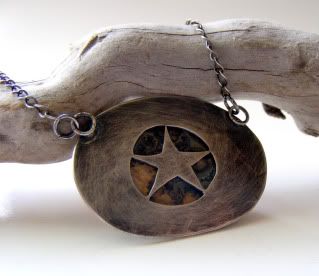
This is the third necklace from my "Hidden Pentacle" series. From the front, the necklace appears simply as a lovely dark Ocean Jasper. Hidden upon the reverse side, is a hand cut pentacle. Whether you are unable to wear a pentacle openly or just like to have a little secret, these necklaces are perfect.
(Front)
(Back)
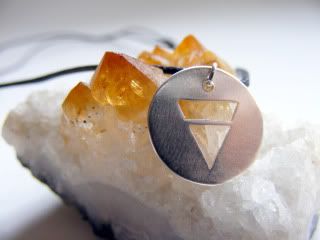
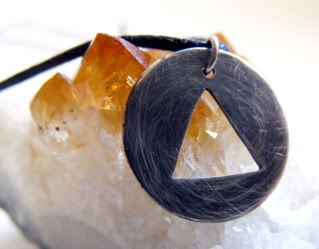
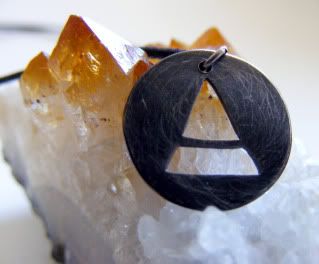
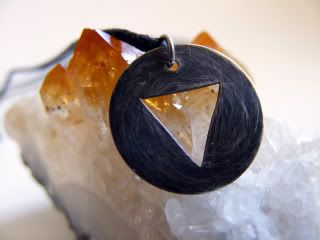
New Element Series
Earth Necklace
Fire Necklace
Air Necklace
Water Necklace
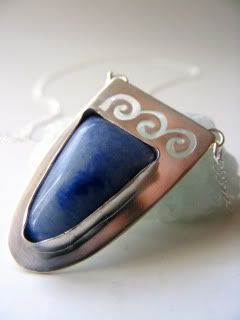
Sodalite Water necklace
This lovely necklace exudes the feeling of water, with hand cut waves and triangle Sodalite. There will only be four of these necklaces, which could be lovely for a small coven of water witches or for anybody that wants or needs to bring a bit more water into their lives.
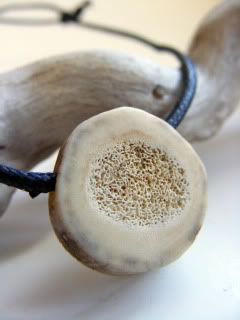
Antler Necklace
These are naturally shed antlers that have been sliced. I then drilled and sanded them to make these handsome necklaces.
Thank you for checking out all my new pieces! If you have any questions just let me know!
Brightest Blessings,
Mel
Etsy Buy Handmade MoonLitCreations |
Monday, August 17, 2009
Win this necklace!
I love podcasts and one of my favorites is "The Wigglian Way" with Mojo and Sparrow. It is just great, if you haven't checked out their podcast I highly recommend that you do! Go to The Wigglian Way to check them out. Because I just love their podcast, I spoke to Sparrow and set up this giveaway. If you would like a chance to win the "Flower Pentacle" necklace above you have to listen to the podcast to find out how.
This is the Flying Sparrow Flower Pentacle necklace that I made for Sparrow.
To check out my stores go to MoonLit Creations for my Pagan jewelry and Earthen Creations for my Nature jewelry.
Wednesday, April 22, 2009
How to make a Tree Necklace
How to make this Dark Tree Necklace...
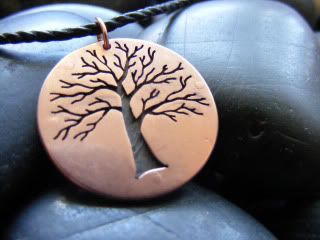
(This is my first tutorial so any feed back would be greatly appropriated)
Supplies....
2 - 1in copper discs
Pencil/Permanent Marker
Center Punch/Big Nail
Drill bit
Flex Shaft/Dremel/Hand Drill
Wood Board
Masking Tape
Hammers
Saw
Saw blades
Cut Lube/Bees Wax
Binding wire*
Vise/Tweezer
File
Sandpapers
Polishing rag*
* helpful but if you don't have it don't worry
To make this necklace I start with two 1in copper discs. You can make your own if you have a disc cutter or you can purchase them ready made on etsy. I get them from www.bopper.etsy.com.
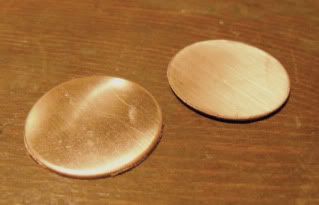
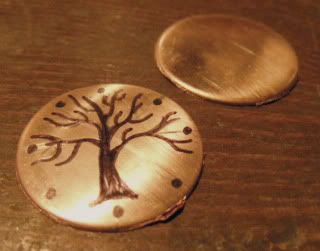
Starting by drawing out how I want the tree and where I want the holes for the rivets. I first use a pencil to sketch it out and then use a permanent marker over it to make it easier to see the design.
After the design is figured out, I dimple the metal with a nail where I want to drill (the places were the rivets will go, the bail and inside the tree). You want to use a Center Punch or Nail so that the drill bit wont "walk" across the metal. (If it does happen you can just sand it out). I tape the disc to my wood board, so I don't get wholes in my desk. Next drill out the holes using a drill bit (size .038/62) that is the same size or slightly larger as the wire that I will be using, which will be 20g. If your not sure if your drill bit is the correct size, you can use a B&S Gauge or if you don't have one just use a scrap piece of metal to drill and make sure the wire fits with just a tiny bit of room around it.
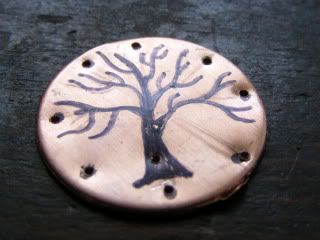
Time to saw
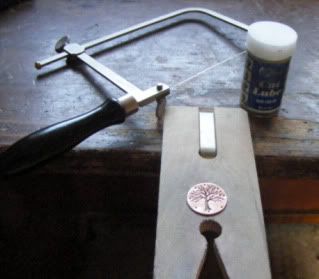
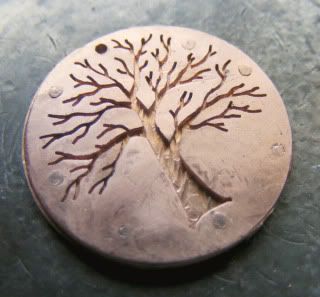
To saw out the tree I use a number 1 blade. I start by sawing out the larger parts such as the tree truck, then larger branches and such, working around until I am happy with the design. Make sure to take your time.
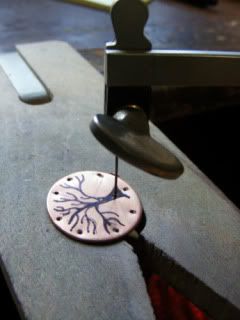
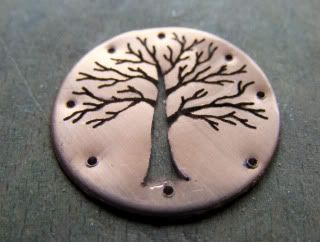
When it is finished it will look something like this...
Time to work on the back disc
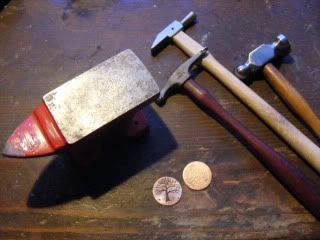
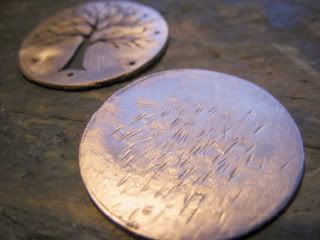
I use a few different hammers to give it texture. Giving it a random "bark" texture.
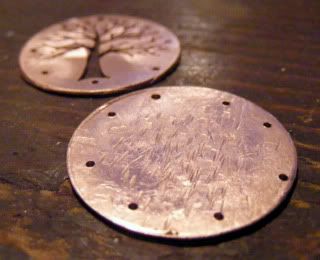
Next I drill the holes on the bottom disc. To do this I tape down the bottom disc on my drilling board (wood board) using masking tape, then tape the disc that the tree is cut out directly on top. Next just drill through all the holes going round all the way trough the bottom disc. Also at this point I use a little bigger drill bit for the top hole to make it just a little larger then the others.
Time to rivet
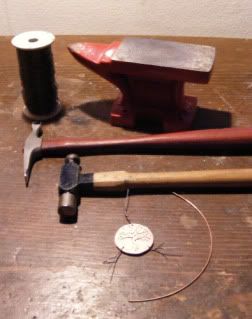
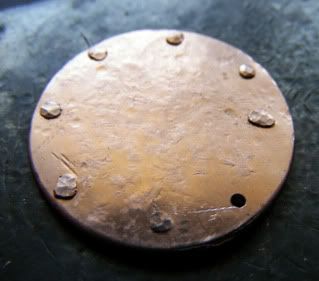
This is a process called cold connection, which means there is no heat to connect the metals. We will connect the metal using 20g copper wire that we hammer into place. If you have a vise, you can just put in a straight piece of wire into the vise leaving a couple mm of the wire above the vise to hammer the wire. After one side is hammered thread it through the hole, then cut the wire a few mm above the disc and hammer it again. Then repeat. If you don't have a vise, like me, you can just cut a small piece of wire and using a tweezers hold the wire into place and rivet it that way. I use binding wire to hold the piece in place while I work on all the rivets and to mark which hole is for the bail, so I don't rivet that one.
Backside, it doesn't have to be perfect because we will be sanding it and taking all the imperfections away.
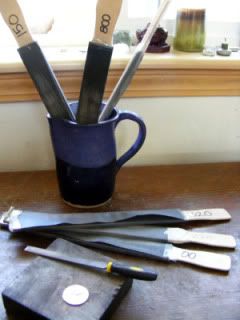
Now the two discs might not match up totally even, so just go around the piece with a file until it is even. After that sand the piece to a nice soft finish, I use 100, 220 and 320 grit sandpaper.
To make the tree pop out a little more I use Silver Black patina on it. After it has dried I sand it a little more to get all the extra black off and then use a polishing rag on it to give it a little shine.
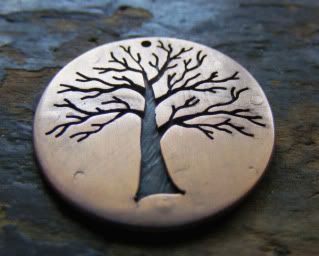
(Copper will tarnish with time giving it a deeper reddish color)
Thank you for checking out my tutorial! If you try this out I would love to see your piece and if you have any questions let me know! Or if you would like to have me make one just for you, I would love too! Go to www.EarthenCreations.etsy.com or click on any picture to see all my jewelry including more versions of this tree!
♥Mel
Subscribe to:
Posts (Atom)
Fan Page on Facebook...
MoonLit Creations on Facebook